You need not have a million-dollar recording studio to get a clean, professional-sounding vocal recording. In fact, provided a suitable setup and gear, your bedroom, garag,e or closet can be converted into a pretty good do-it-yourself recording studio that will make much more noise than it costs.
However, the reality is that the majority of people mess up their recording even before they press the record button- by positioning their mic incorrectly, by using bad acoustic environments, by not going through the fundamentals. That is where it stops.
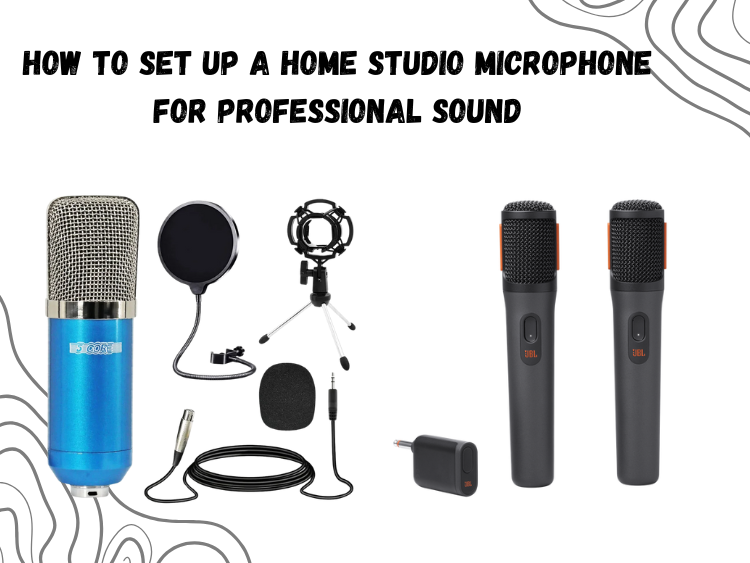
It is your no-nonsense tutorial on how to install a home studio microphone to deliver professional sound. This setup works whether you are recording music, podcasts or voiceovers.
Podcast microphones aren’t limited to talk shows—they’ve carved a place in home studios, too. Blogs like Podcast Insights note that USB podcast mics deliver “broadcast-quality sound with plug-and-play simplicity,” making them perfect for creators without a full recording chain.
Step 1: The Right Microphone
And in the event that you are serious about quality, you must have a mic that is designed to produce clean vocals with minimal post-processing. Enter the 5 core RM 7 BLU.
This isn’t just for live use—it fits right into a home studio setup thanks to:
- A high-sensitivity vocal capsule that captures warmth and clarity
- Rechargeable, wireless convenience to reduce cable clutter
- Compatibility with various wireless receivers for flexible routing
You get studio-grade vocal pickup, minus the usual mess of wires. That’s a huge win when space is tight and simplicity matters.
This heavy-duty red metal arm rotates a full 360°, with a main shaft that tilts 180° for ultra-precise mic positioning. Dual reinforced suspension springs and a metal positioning screw help it handle mics up to 3.5lb—so even heavier broadcast or podcast mics are no problem.
The clamp base supports flat or square tables up to 2.2in thick, and rubber padding protects your surface from scratches. Featuring a universal 3/8″ to 5/8″ screw adapter, it fits a wide range of dynamic and condenser microphones and accessories.
Capture warm, studio vocals anywhere — grab the 5 Core RM 7 BLU today.
Step 2: Choose the Right Room (and Tame It)
Don’t overthink this—a walk-in closet, a corner with thick curtains, or a small room with soft furnishings will do the trick. What matters is cutting down reflections.
Avoid:
- Large, empty rooms
- Glass surfaces
- Tile or concrete walls
DIY hacks to improve acoustics:
- Hang thick blankets or duvets behind and beside your mic
- Put a rug under your feet
- Place a bookshelf behind you (books make great diffusers)
You don’t need expensive foam panels to start—just kill the echo.
Step 3: Master Mic Placement
This is where most people mess up. You can have a $1000 mic, but if it’s pointing the wrong way or placed too far, it’ll sound thin, muddy, or echoey.
For a handheld dynamic like the 5 Core WM-1001:
- Distance: Stay about 6 to 8 inches from the mic
- Angle: Tilt it slightly off-axis (around 30°) to avoid harsh plosives
- Height: Keep the mic level with your mouth, not above or below
- Pop Filter: Always use one—unless you love editing out ‘p’ pops for hours
Also, ditch the temptation to hold the mic by the grille. Always grip it by the handle, and ideally, mount it on a stand to keep the positioning consistent.
Step 4: Use a Quality Speaker for Monitoring
Even in a budget studio, monitoring matters. If you’re not hearing the details in your playback, you’re missing problems in your takes.
Here’s where a solid wireless speaker like the JBL Wireless Mic comes into play. While known for party use, this setup offers clear vocal reproduction and lets you easily monitor recordings, especially if you’re tracking vocals solo.
Pair it with your interface or computer and monitor wirelessly from across the room. This kind of flexibility makes solo sessions smoother and faster.
Hear every detail in real-time — monitor with the JBL Wireless Mic System today.
Step 5: Gain Staging—Get This Right
Once your mic is in place, it’s time to adjust input levels. If your gain is too high, you’ll clip and distort. Too low, and your voice will drown in noise during editing.
Quick gain tip:
- Aim for peaks between -12 dB to -6 dB
- Use your DAW’s input meter to watch your levels in real time
- Record a test take and play it back before you start your session
Don’t rely on “fixing it in the mix.” Get it right at the source.
Step 6: Cut Background Noise at the Source
If you can hear your computer fan, AC, or traffic, your mic definitely can. Take a few easy steps:
- Shut windows and doors
- Unplug anything that buzzes or clicks
- Record during quieter hours if needed (early morning or late night)
Step 7: Use Headphones—Always
No speakers while tracking. Use closed-back headphones. This will allow you to monitor yourself without creating bleed.
This also helps with mic technique. You’ll hear your breaths, mouth noise, pops, and learn to control your voice in real-time.
Step 8: Save Presets for Repeat Sessions
Once your levels, placement, and room setup are dialed in—save everything.
- Mark mic position with tape
- Save your DAW settings as a preset
- Note your gain levels, pop filter distance, etc.
In this way, each session will pick up right where the previous one left off-it is consistency which adds that studio sound to home recordings.
Final Thoughts
It does not mean you have to talk like a professional; you have to be one. And it begins with appreciating the fundamentals of your home studio system.
Get these right and you will have a DIY recording studio that does not only looks the part but sounds like it.
Here you can also find amazing drum thrones; alternatively, browse our product page to find the best keyboard bench, audio mixers, drum mics, piano bench, keyboard stand, speakers, party speakers, and more.