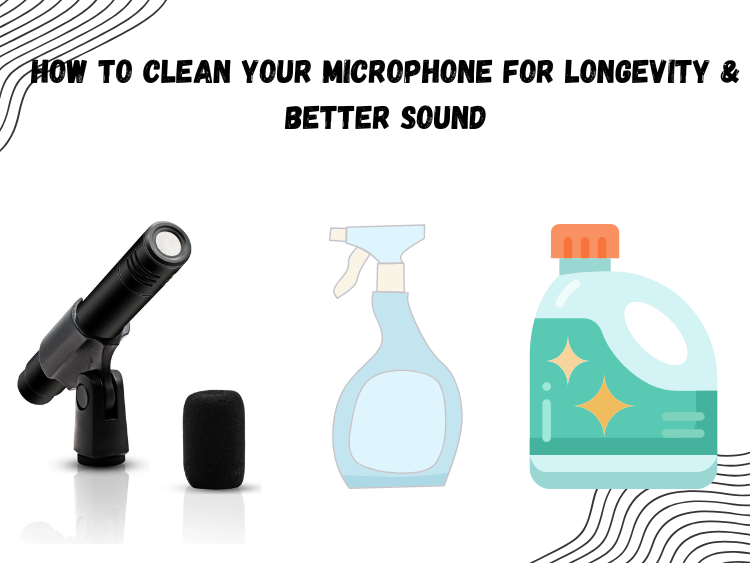
Your mic is a lot like your guitar strings or drumheads—ignore it too long, and it’ll start to betray you. Dust buildup, mouth moisture, sweat, and accidental coffee splashes? It all adds up.
Cleaning your microphone isn’t just about hygiene—it’s about tone, reliability, and how long your gear actually lasts. It is not much. Now, let us see what cleaning and sanitizing your microphone should look like.
Why Mic Maintenance Actually Matters
You wouldn’t play a guitar with rusty strings. Same goes for microphones. Neglecting routine cleaning leads to:
- Muffled sound – Dust and grime clog up the grille, dulling your highs and killing clarity.
- Funky smells – Especially true for vocal mics shared across gigs or sessions.
- Reduced lifespan – Moisture and debris can corrode internal parts over time.
- Noise issues – Loose particles cause rattling or crackling in recordings.
If you’ve got a workhorse like the 5 Core Pencil-Type Dynamic Mic (MIC 200 BLK), proper maintenance keeps it running at full tone for years—on stage, in the studio, or wherever you push it.
Step-by-Step Mic Cleaning Guide
1. Unplug and Disassemble
Before you start cleaning, make sure the mic is properly unplugged. If your mic has a removable grille (which is the case with most dynamics), twist it off gently. Don’t force it—some condenser and pencil mics have fixed housings.
2. Clean the Grille & Foam Windshield
The grille is zero ground of spit, dust and stage gunk.
- Washable grilles: Soak in cold water using mild dish substance. Clean out the accumulation with a soft toothbrush. Wash thoroughly then leave to dry up before rejoining.
- Internal foam: In case a foam wind screen is used internally, please carefully take it out and wash it. Never squeeze it dry pat dry and air dry thoroughly over night.
Do the same thing in case your mic has an external pop filter or foam cover. These absorb odors quickly, and harbor germs.
3. Wipe Down the Body
Apply 70 isopropyl alcohol or a micro-electronic wipe (a mic-safe electronic wipe). Do not put moisture into grille or XLR connector.
Never bleach or spray with common, general sprays found in the house, – harsh chemicals will cannibalize the paint and labels, as well as the rubber seals. Use only alcohol-containing sanitizers and rub them lightly.
4. Clean the Connector
A dirty XLR connection causes crackling and dropouts. Lightly dab a cotton swab with isopropyl alcohol to clean the connector pins. It’s not necessary to go deep—just surface-level dust and oxidation.
How Often Should You Sanitize Your Microphone?
Depends on how you use it:
- Gigging vocalists: Wipe down after every show. Deep clean weekly.
- Studio use: Monthly is fine if it’s in a controlled environment.
- Shared mics (bands, podcasts, events): Sanitize between users, that is non-negotiable.
What About Pencil Mics & Instrument Mics?
Instrument mics like the 5 Core MIC 200 BLK are often overlooked. They don’t touch your mouth, sure—but they still pick up dirt, sweat, and air dust, especially if used on loud amps or drums.
Since they typically don’t have removable grilles, focus on wiping the body and cleaning the connector. And always store them in a padded case—not your pedalboard or backpack.
Pro Tips to Keep Your Mic in Top Shape
- Never blow into a mic to check if it’s on. It pushes the moisture into the capsule..
- Store your mic upright in a case or pouch to avoid dust settling in the grille.
- Put your mic in an upright case or pouch so that dust does not settle in the grille.
Bottom Line
Cleaning your mic isn’t glamorous. But neither is sounding dull, dealing with buzz, or replacing gear way too soon. A 5-minute wipe-down can save your tone—and your wallet.
And if you’re looking for a tough, all-metal mic that can take real-world abuse and still clean up easily, the 5 Core Pencil-Type Dynamic Mic (MIC 200 BLK) belongs in your kit. High SPL handling. Wide frequency response. Built like a tank.
Take care of your mic, and it’ll take care of your sound. Every single time.